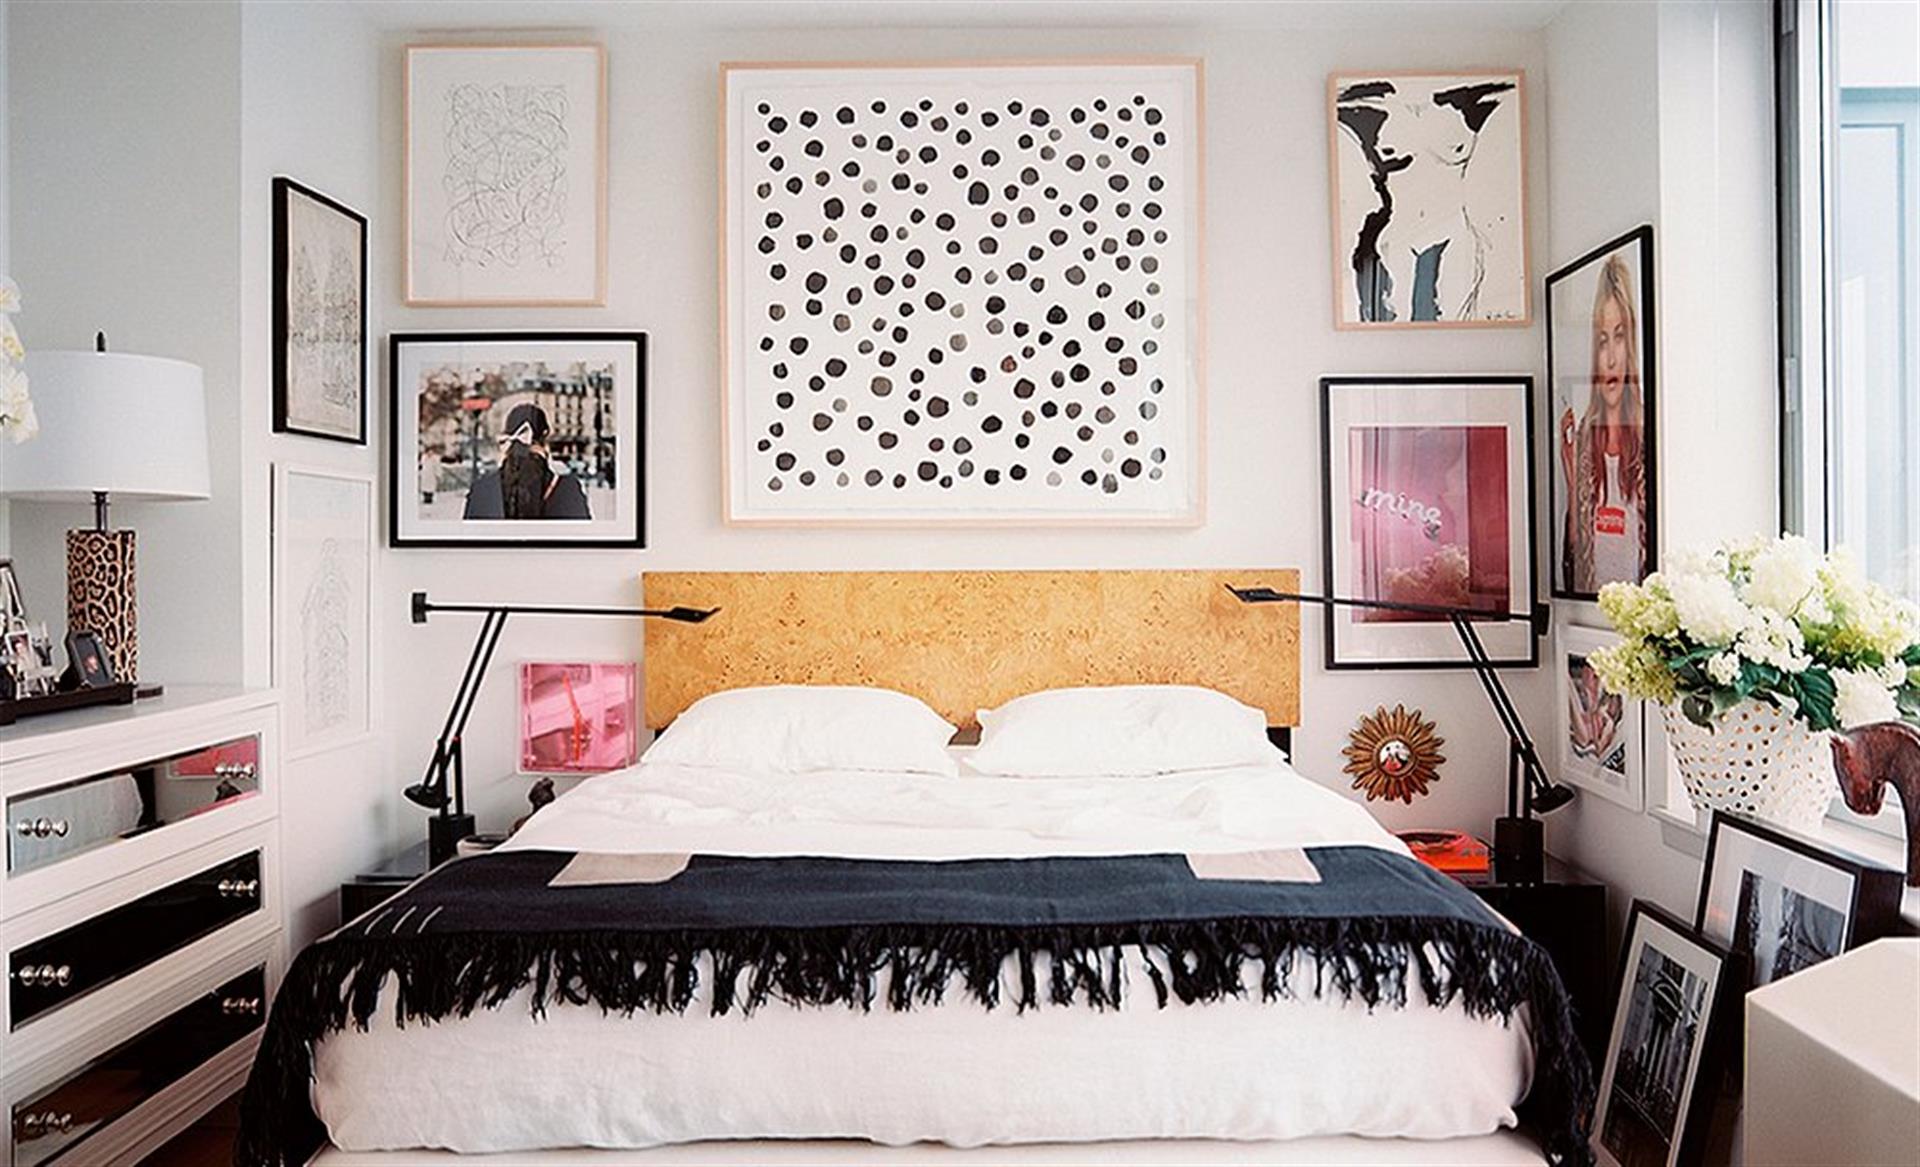
How To Create a Gallery Wall

Gallery walls are all the rage right now in the interior design world. They look amazing and become one of the focal points of the room they are hung in. Although many people want to create them in their own homes, the whole process can be very overwhelming and make you feel like you don't even know where to begin. Balboa Realty, a leader in Orange County Property Management, has all of the best home improvement tips. Use your gallery wall as a place to tell an interesting story or something with meaning behind it. Balboa Realty is here to help you create your own unique gallery wall.
Interested in our Orange County Property Management services? Call Balboa Realty today: 949-386-8310
Take Your Time
Life is busy and sometimes the easiest thing to do is to find a few decent looking photos, put them in frames, and hang them on the walls. Yes, this gets the job done, but is it really what you want for your home? Balboa Realty suggests taking your time and doing it right so that you won't need to re-do it. The first place to start is the internet. Go online and find gallery walls that you like (and don't like) and use these ideas as inspiration. Next, pick the wall in your home that will be the canvas for your gallery wall art. Living rooms are common selections, but you can also expand this to hallways, bedrooms, bathroom etc. Once you select the specific place, you can start thinking of the actual photos and items you want to hang.


Design Your Layout
Begin putting together a general theme for the gallery wall. Do you want all travel photos and items? Pictures of buildings? Black and white photos? Photos and items from family members? There are so many themes, but once you choose one it will simplify everything and keep you focused. Think of photos that you have already taken, items you already have, or make a list of items you need. Once you have all of your gallery wall ingredients, pick one photo or item to be the focal point. Keep in mind, this focal point should be around 60 inches from the floor, and you will then build around that item. Before you nail holes in the wall, spread out all of the framed photos on the floor and create your layout. You can then take a photo of your final layout so you'll remember exactly how you want it on the wall. This is more time intensive project than hanging a single photo, but you will thank yourself for doing it!
Published on Friday, March 9, 2018